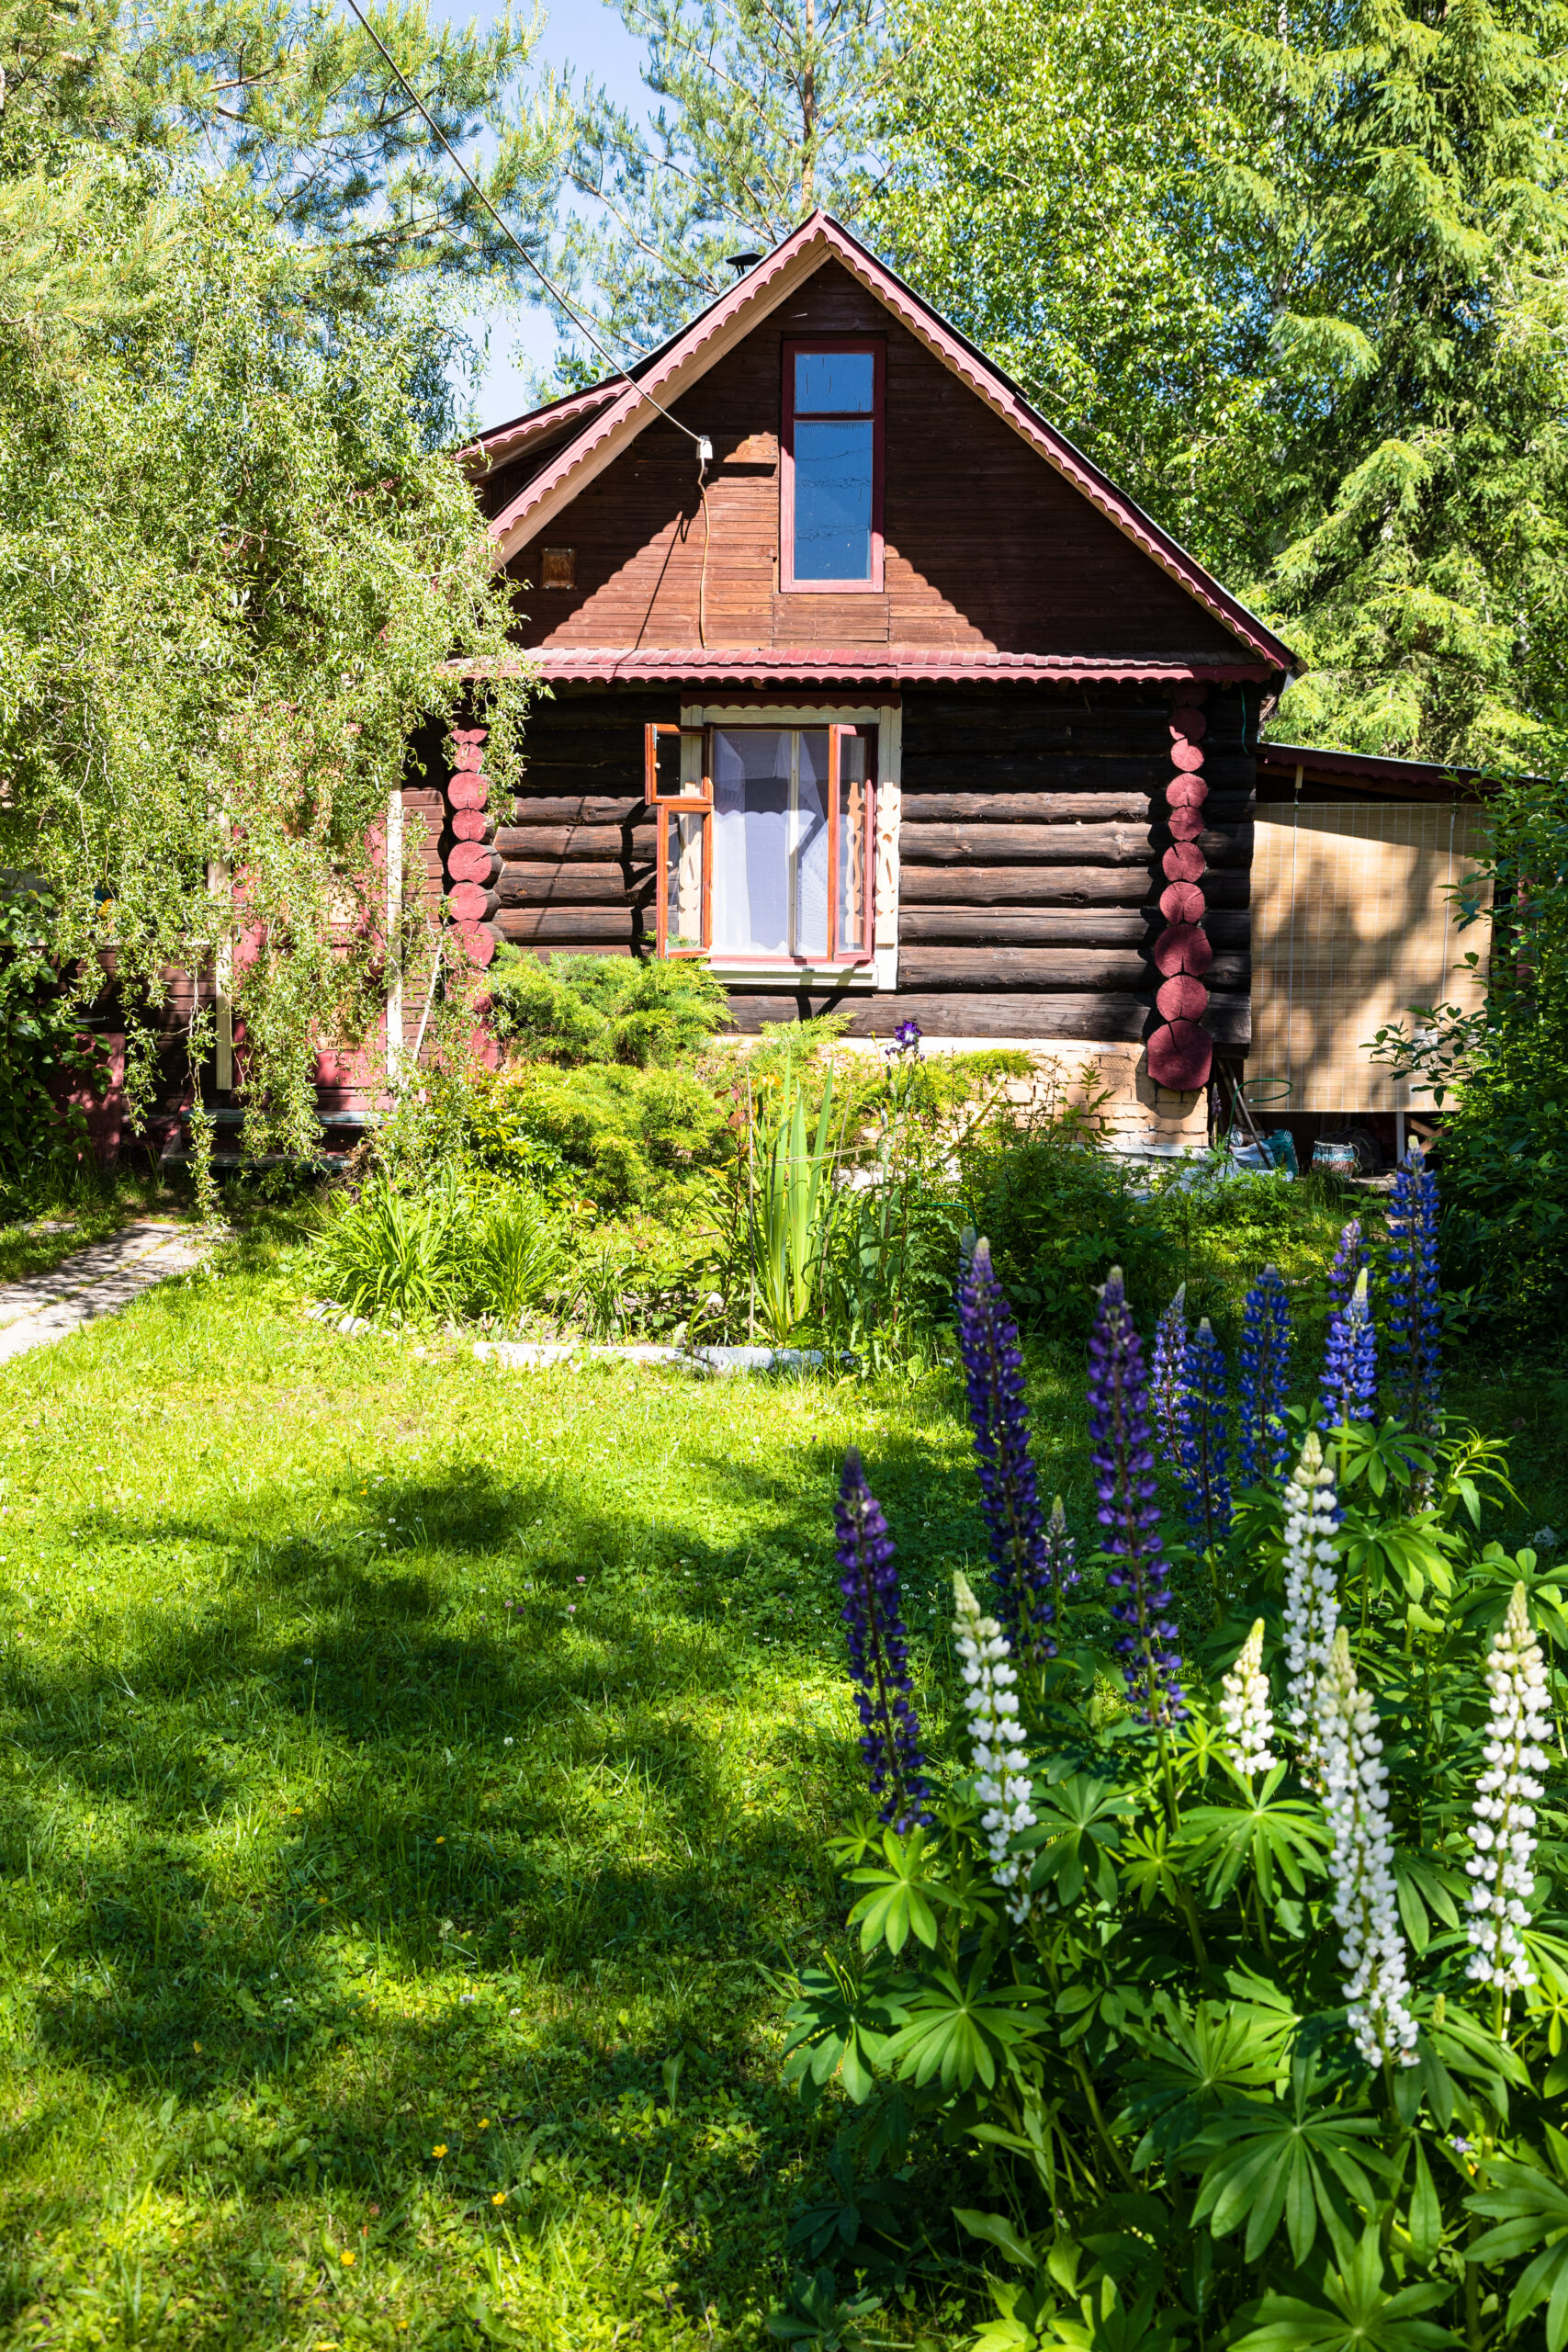
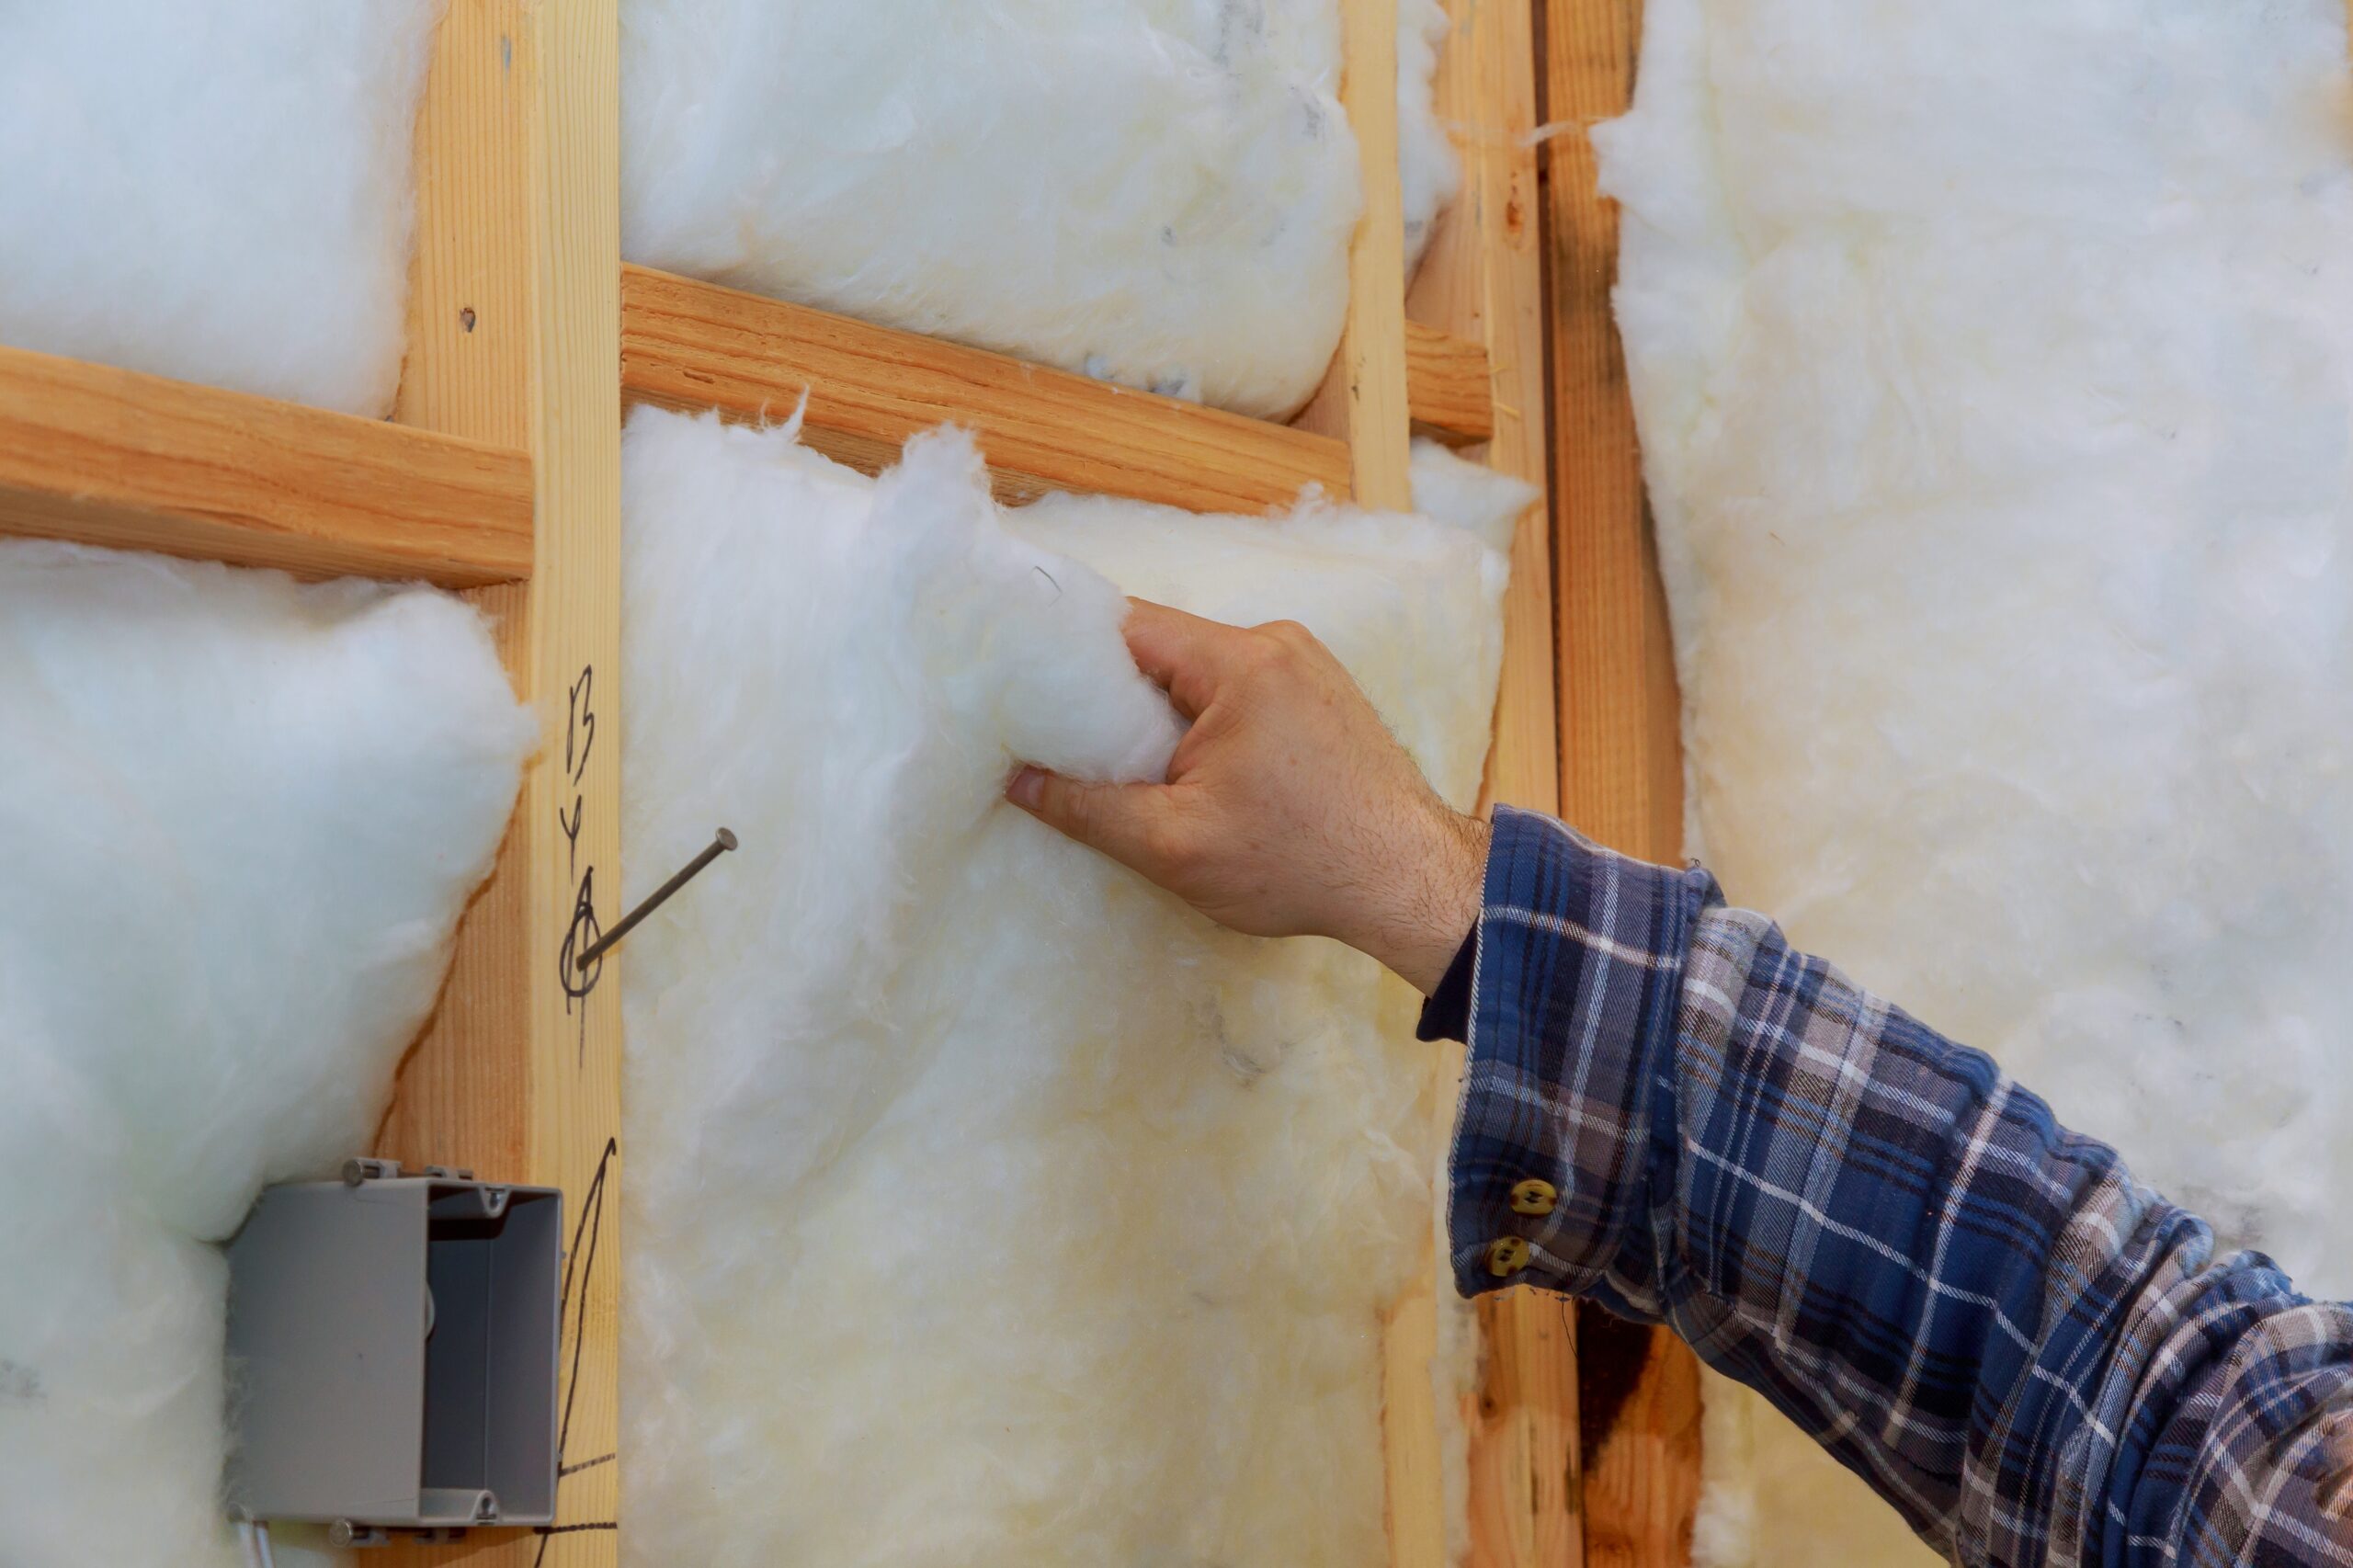
If your shed is roasting in July and freezing by November, it’s not your imagination: most garden sheds are just a single layer of timber. The good news is that it’s not hard to insulate a shed yourself, and a weekend’s work can turn it into somewhere you’ll happily spend time all year.
This guide walks through the walls, roof and floor, the materials worth using and the one mistake that catches most people out: trapping moisture behind the insulation.
Before you insulate a shed: check it’s sound
Insulation won’t fix a leaking roof or a rotten floor, and it’ll hide problems until they’re much worse. Before you start:
- Check the roof felt for tears, lifting edges and soft spots.
- Make sure the shed sits on a level, well-drained base, raised off the soil.
- Treat the exterior so the cladding stays watertight.
- Fix any obvious gaps around windows and doors.
If the base is the problem, our shed base guide covers your options. For the outside, see how to treat a wooden shed.
Which insulation is best for a shed?
| Material | Cost | Heat retention | Best for |
|---|---|---|---|
| Bubble foil roll | Cheapest Low cost per metre | Modest Reflects heat, thin layer | Quick fixes Small sheds and metal sheds |
| Polystyrene (EPS) sheets | Budget Cheaper than PIR | Good Needs more thickness for same result | Walls and floors Tight budgets |
| PIR board | Mid-range Pricier per sheet | Excellent Best per millimetre | Serious use Offices, workshops, hobby rooms |
| Mineral wool | Budget Cheap in rolls | Good Needs a dry, sealed cavity | Roofs Wider cavities, gloves essential |
So what’s the best way to insulate a shed? For most people it’s PIR board cut to fit between the studs, then lined over. If you need the cheapest way to insulate a shed, bubble foil stapled across the framing is a quick start, though it won’t perform like board.

Best all-round insulation
25mm PIR Insulation Board, 600mm x 1200mm, Pack of 4
PIR is the go-to for shed walls and roofs because it gives the most insulation for its thickness. 25mm boards suit the shallow framing found in most garden sheds.
- Great heat retention for the thickness
- Cuts cleanly with a fine saw or knife
- Light and easy to handle

Best budget board
Triplast EPS70 Polystyrene Insulation Sheets, 12 x 25mm
Polystyrene sheets are cheaper than PIR and easy to work with. You’ll need a little more thickness to match PIR, but for a hobby shed they’re a sensible saving.
- Good value
- Easy to cut
- Handy for floors under boards

Cheapest quick fix
The Fellie 8.4m x 0.6m Aluminium Bubble Foil Insulation Roll
A roll of bubble foil is about the lowest-cost way to take the edge off. Staple it to the framing with an air gap in front and it reflects some heat back in.
- Very low cost
- Fast to fit
- Useful in metal sheds against drips
How to insulate a shed’s walls
- Clear and clean. Empty the shed and brush down the walls. Let it dry out fully.
- Add a breathable membrane (optional but wise). Stapling a breathable membrane against the inside of the cladding helps stop any moisture that gets through the cladding from soaking the insulation.
- Cut boards to fit between the studs. Measure each bay separately, as shed framing is rarely perfectly even. A snug fit matters more than speed.
- Seal the gaps. Use foil tape over the joints, or expanding foam for bigger gaps.
- Fit a vapour barrier on the warm side. A polythene sheet or foil-faced board facing into the shed stops warm, moist air reaching the cold timber.
- Line it. Screw ply, OSB or tongue and groove boards over the top. It protects the insulation and gives you somewhere to hang shelves.
Tip: Leave the windows, vents and door seals alone. A shed still needs some airflow or you’ll swap cold for condensation.
Insulating the roof
Heat rises, so the roof is where a lot of it escapes. The method is the same as the walls: board between the rafters, tape the joints, vapour barrier, then a lining of thin ply. Two things to watch:
- Check the felt is in good shape first. You won’t see leaks once it’s lined.
- Don’t drive screws or staples through the roof boards and out the other side, or you’ll puncture the felt.
Pent roofs are usually the easiest to line because the rafters run in one direction. Apex roofs take a little more cutting at the ridge, but the method is the same. Work from the bottom up and get a helper to hold boards in place while you fix the lining, as it’s an awkward job on your own.
If the roof needs redoing anyway, sort that first. Our shed paint, roofing and treatments range includes felt and EPDM kits.
Insulating the floor
A cold floor makes the whole shed feel chilly, especially in winter. If you’re building or rebuilding, the best approach is rigid insulation boards between the floor joists before the shed floor goes down, sat on a breathable membrane. In an existing shed, the easiest route is to lay thin boards over the existing floor and cover them with a new layer of ply or chipboard flooring. It raises the floor slightly, so check the door still opens.
Rugs or interlocking foam mats are a simple stop-gap if you can’t face lifting anything.
Insulating a shed that’s already built
Most people are working with an existing garden shed rather than a new build, and that’s fine. You insulate from the inside, bay by bay, so there’s no need to take anything apart. The order that works best is roof first, then the walls, then the floor, so offcuts and dust fall onto a floor you haven’t finished yet.
Plan for the space you’ll lose. Board plus a plywood lining can take 30 to 40mm off each wall, which matters in a small shed. Measure shelving and the door opening before you start, and leave windows and vents clear so the building can still breathe in summer.
Avoiding damp and condensation
This is where DIY insulation goes wrong. Warm, moist air from you, a heater or drying kit hits cold timber and condenses. Trapped behind insulation, that moisture can lead to rot and mould. The fix is a vapour barrier on the warm side, a breathable layer on the cold side and some ventilation. If you’re using a metal shed, read our guide on stopping condensation in metal sheds too.
Is it worth insulating a cheap shed?
Honestly, it depends. A thin overlap shed can be insulated, but the framing is often shallow and the cladding lets in draughts. If you’re planning to use the shed as an office or workshop, a thicker-walled log cabin or a purpose-built garden office may work out better value. Once insulated, a small heater will go much further. See our best shed heaters for options.
FAQs
What is the cheapest way to insulate a shed?
Bubble foil insulation stapled to the framing is the cheapest way to insulate a shed. It reflects some heat and helps with drips in metal sheds, but it’s much less effective than board. Polystyrene sheets are a good middle ground on cost.
Do I need a vapour barrier when insulating a shed?
Yes, it’s strongly recommended. A vapour barrier on the warm (inside) face stops moist air reaching the cold timber and condensing. Without one, you risk damp and mould behind the insulation.
How thick should shed insulation be?
It usually comes down to the depth of your shed’s framing. Many garden sheds have shallow studs, so 25mm board fits neatly. Thicker is better if you have the room, especially in the roof.
How do you insulate a shed that is already built?
Work from the inside: fit boards between the rafters and wall studs, tape the joints, add a vapour barrier on the warm side, then line over with ply or OSB. For the floor, lay thin insulation boards over the old floor and add a new deck on top. You don’t need to dismantle anything.
Can you insulate a shed without lining it?
You can, but it isn’t ideal. Exposed insulation gets damaged easily and some types shouldn’t be left uncovered. A thin ply or OSB lining protects it and gives you a solid surface for shelves and hooks.